Create Application Backups
In this section we are going to test different scenarios when performing backups. We will be creating four different applications with different features and then we will back them up.

Application 1
The first application will be a simple application based on Apache. We can create the application as follows:
-
Create a project called
application-01.
oc new-project application-01
-
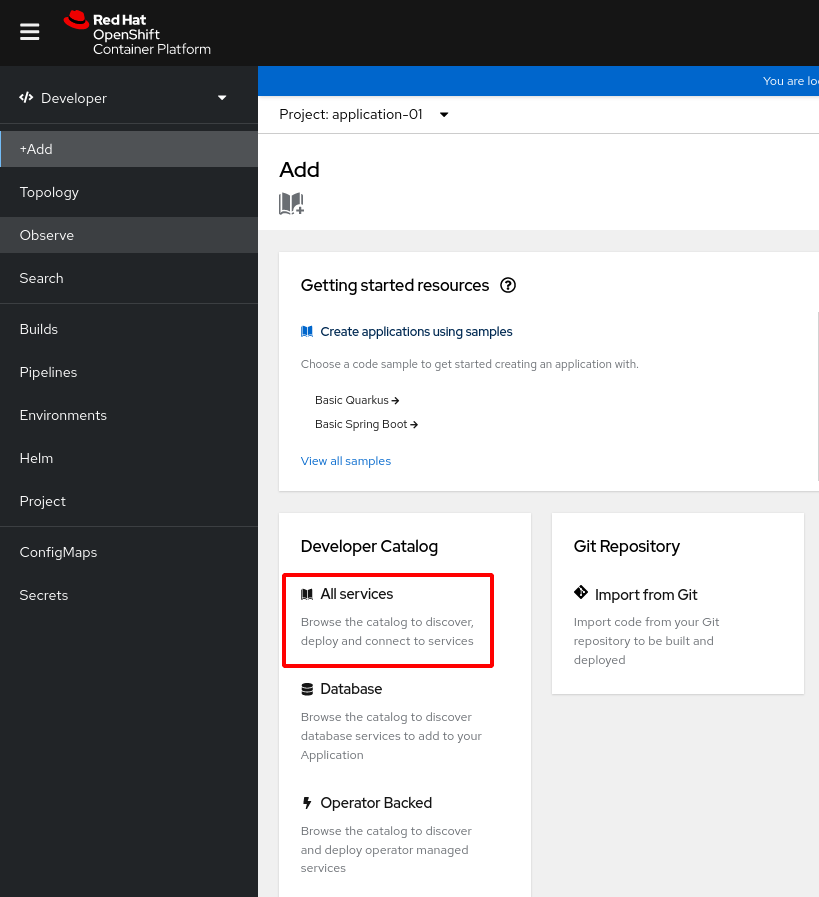
Go to the Developer perspective in the OpenShift Console.
-
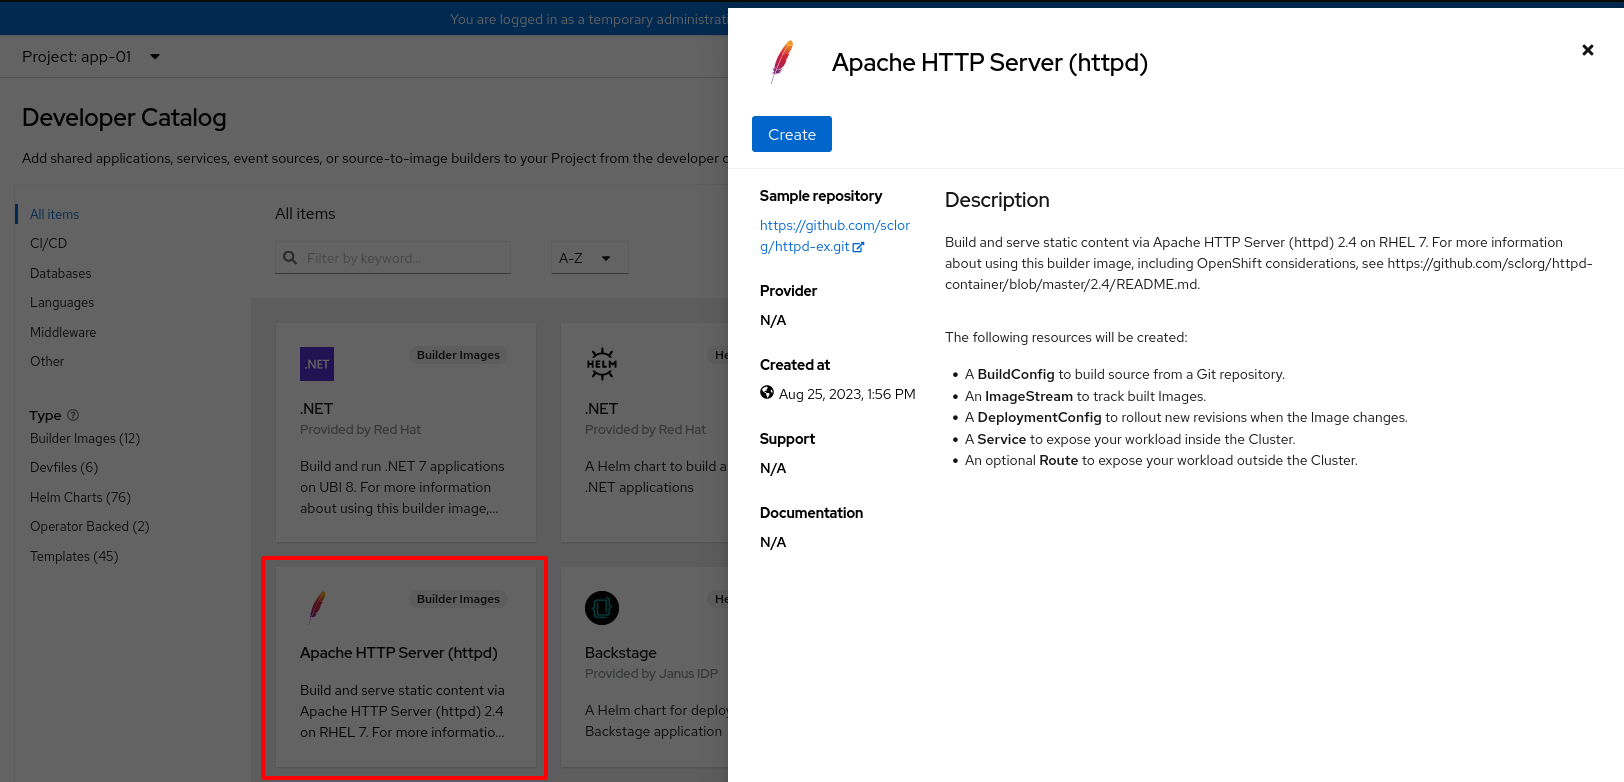
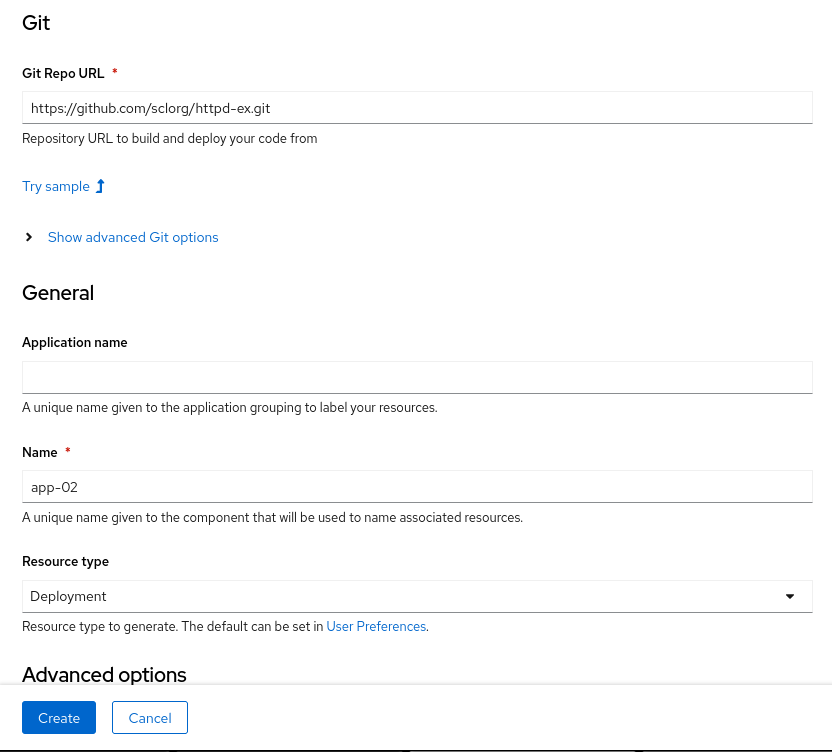
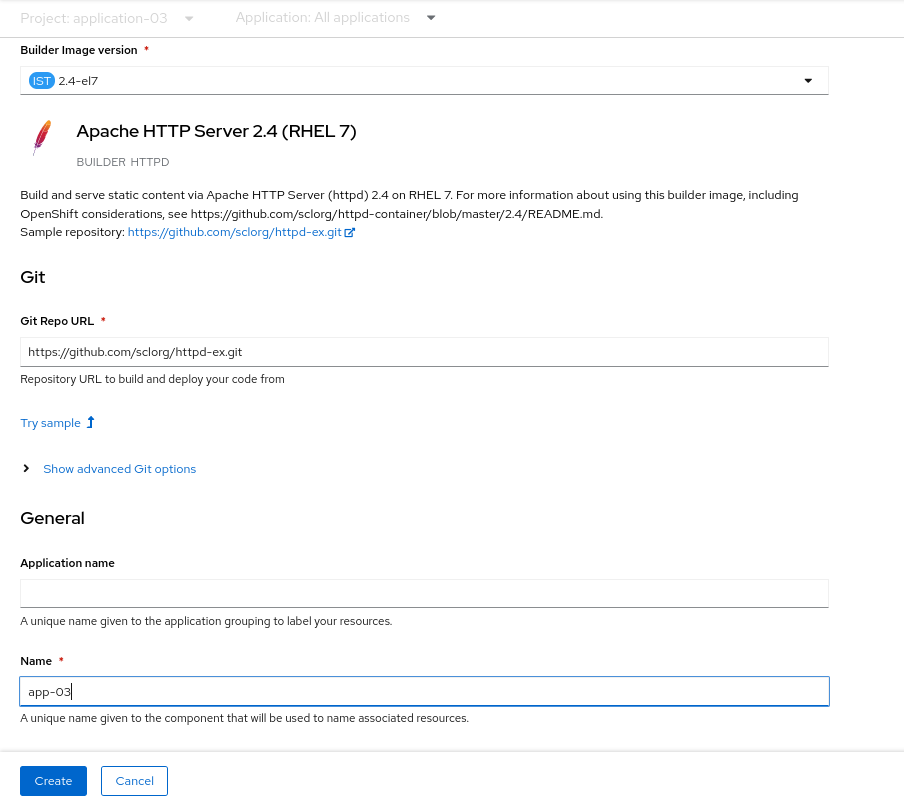
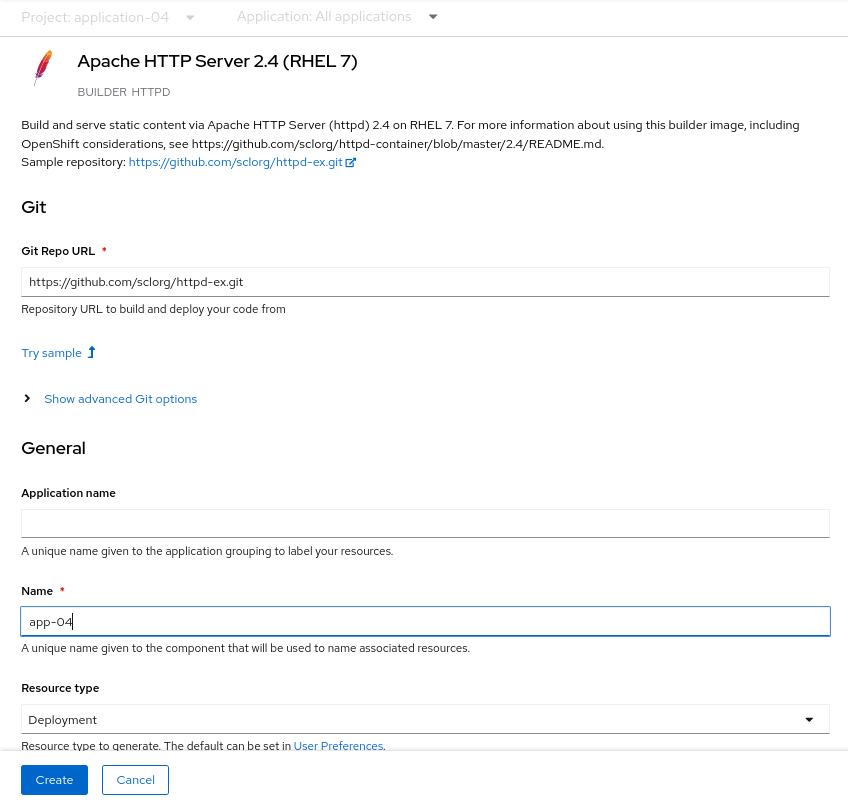
In the developer catalogue choose the application Apache HTTP Server (httpd) - Builder image.
-
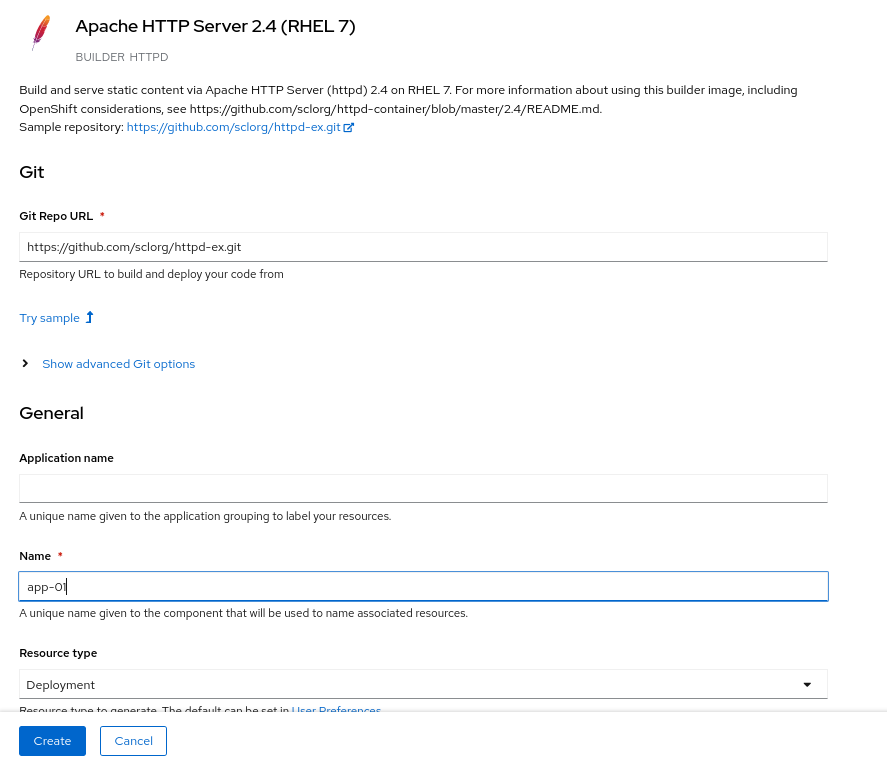
Fill the Git Repo URL by selecting Try sample and the Name with the desired application name and then click on Create.
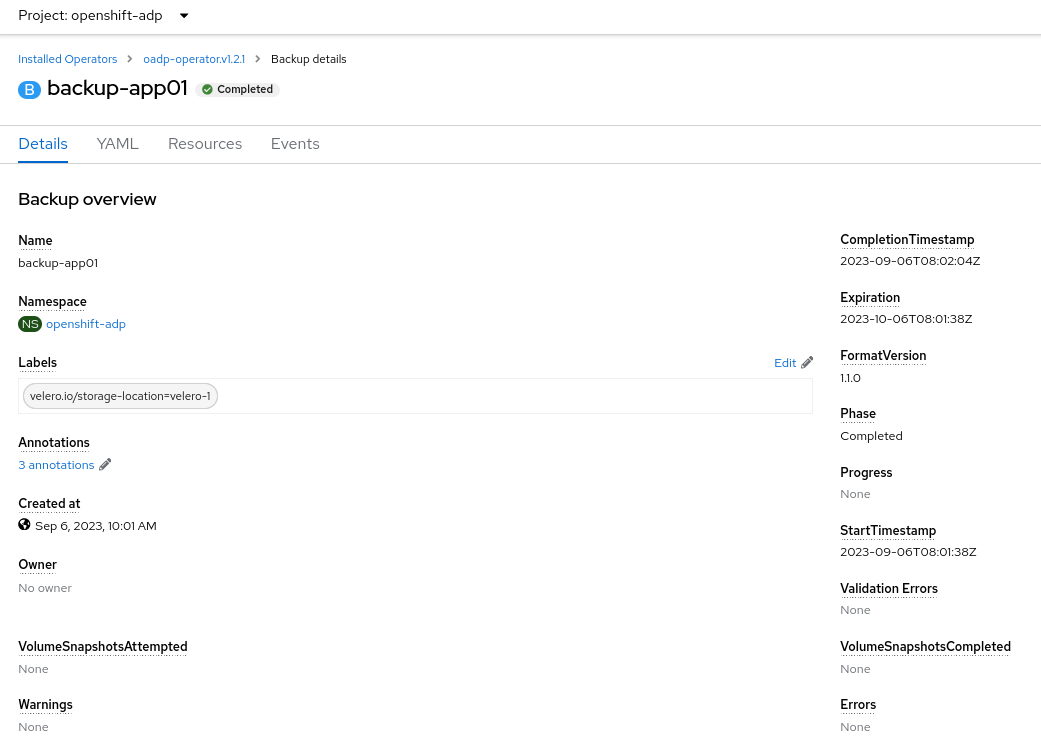
Once the application is up and running, we can perform our first backup. In order to create the backup, in the Administrator view, go to the OADP Operator and then to the Backup section. The yaml view of the resource will look like this:
apiVersion: velero.io/v1
kind: Backup
metadata:
  name: backup-app01
  namespace: openshift-adp
spec:
  includedNamespaces:
    - application-01
In order to check that the backup has been performed successfully, it has to be masked as Completed.
Application 2
The second application will be an app based on Apache with a PVC attached, and we will be using Snapshots to perform the volume backups.
-
Create a project called
application-02
oc new-project application-02
-
Go to the Developer perspective in the OpenShift Console and follow the same procedure as in application 01.
-
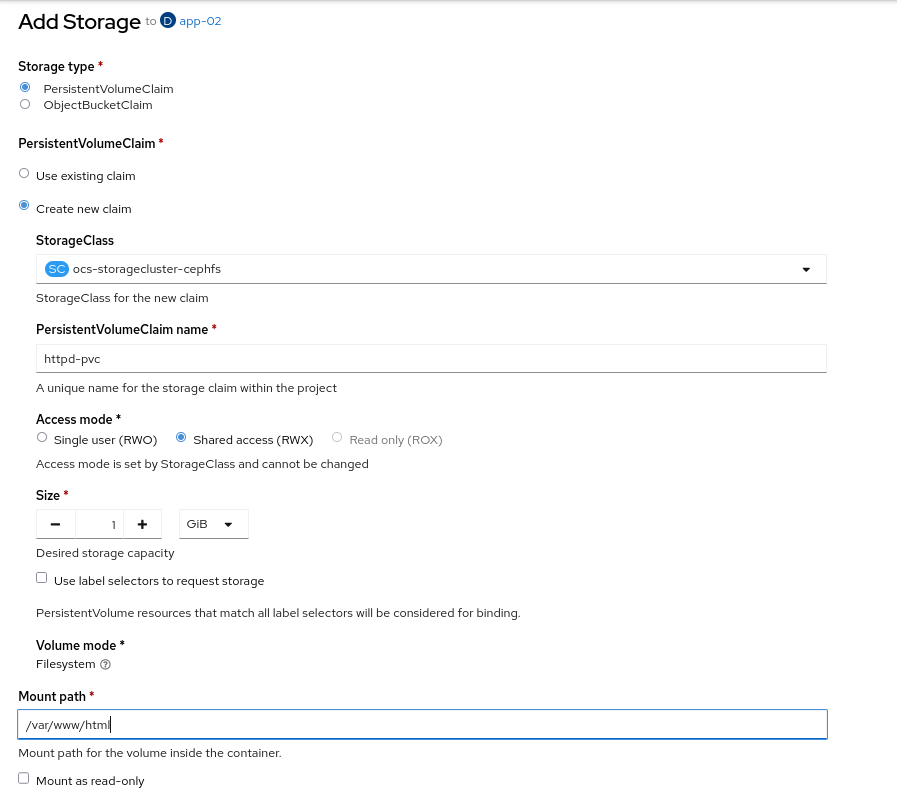
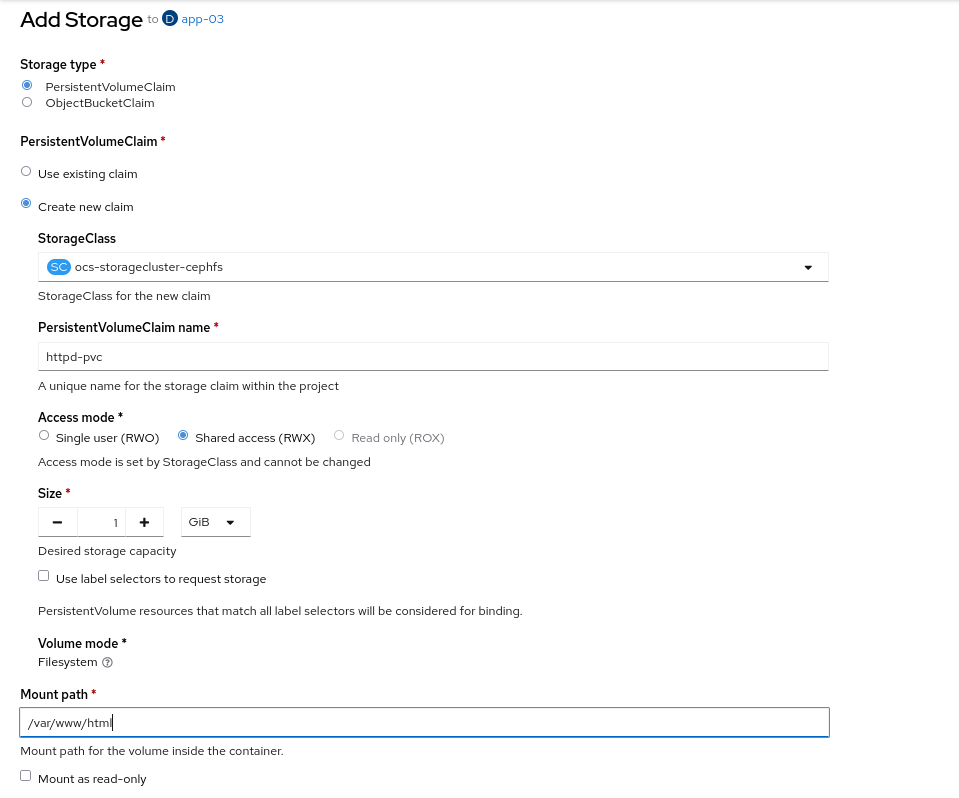
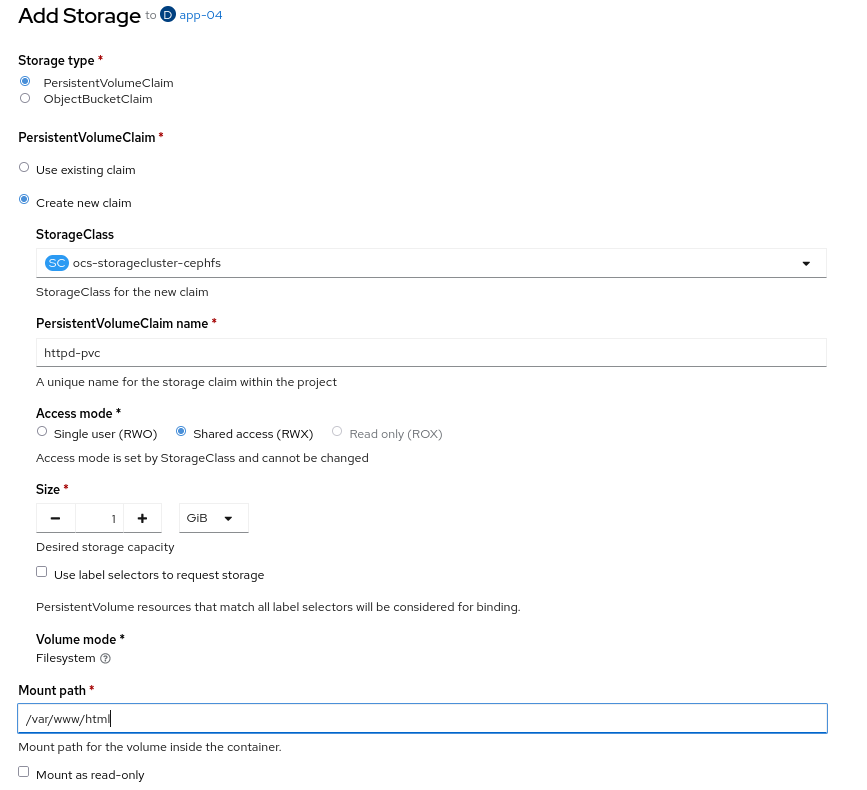
Once the application is up and running, we need to attach a PVC to it.
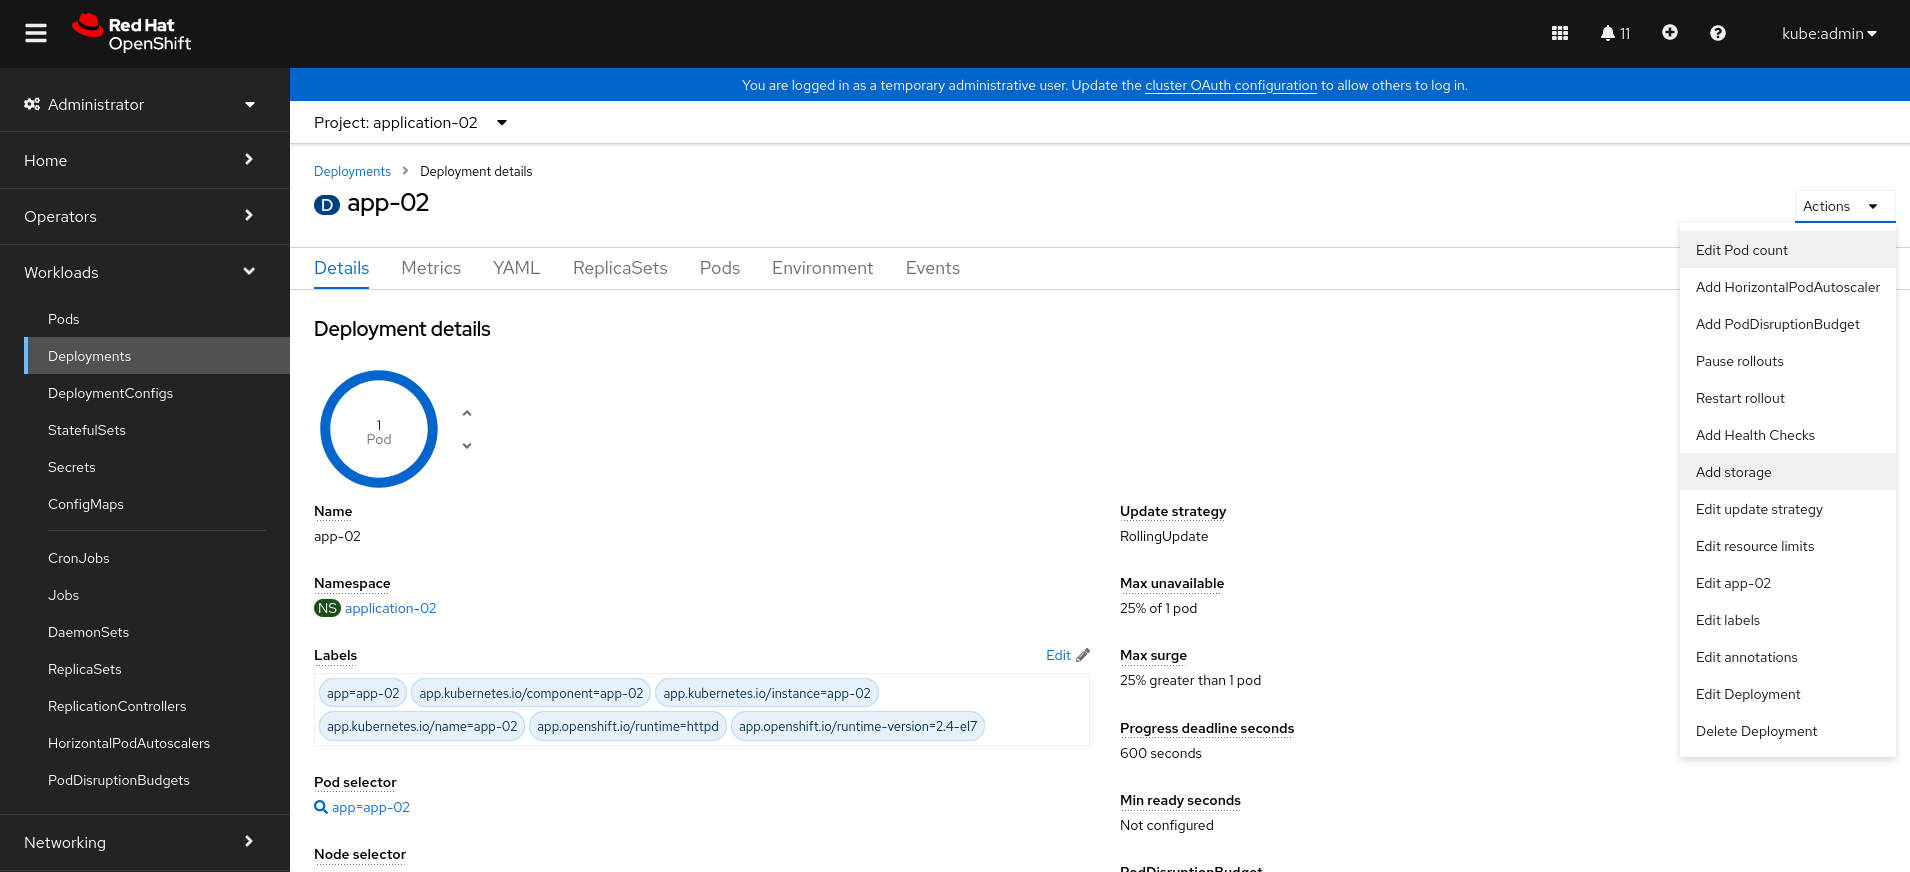
And create a new Persistent Volume Claim for this application.
-
Create the backup.
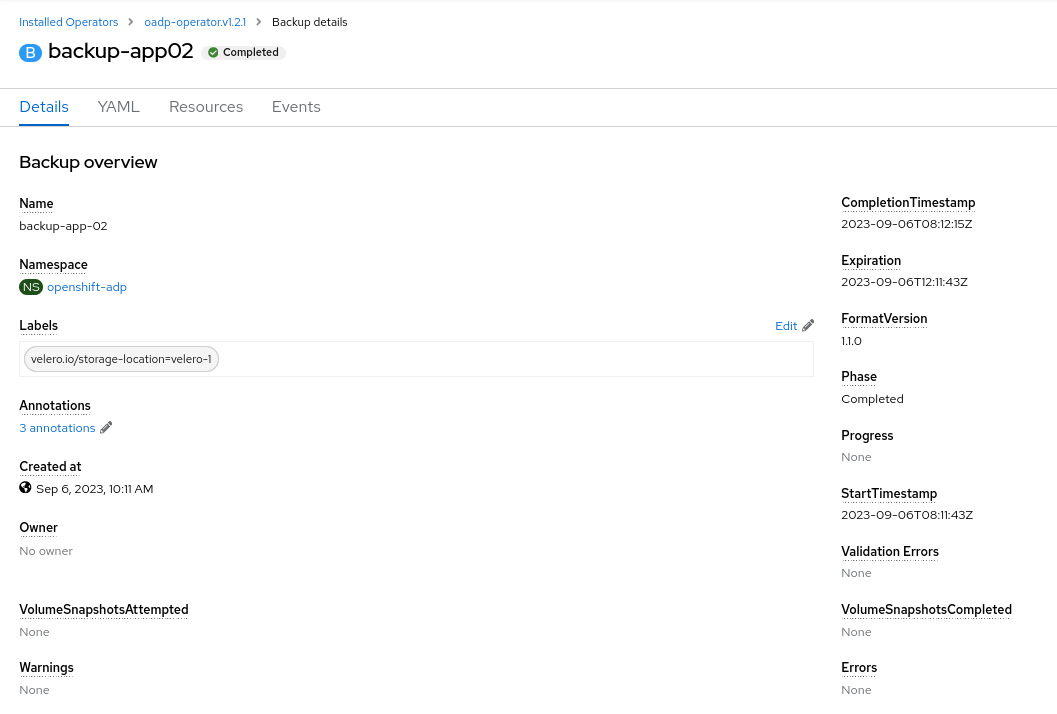
Then, we can proceed to create the backup. In this case, we have to make sure to set the snapshotVolumes parameter to true. The yaml view of the resource will look like this:
apiVersion: velero.io/v1
kind: Backup
metadata:
  name: backup-app02
  namespace: openshift-adp
spec:
  includedNamespaces:
    - application-02
  snapshotVolumes: true
In order to check that the backup has been performed successfully, it has to be masked as Completed.
Application 3
The third demo will be an app based on Apache with a PVC attached, and we will be using Restic to perform the volume backups.
-
Create a project called
application-03.
oc new-project application-03
-
Go to the Developer perspective in the OpenShift Console and follow the same procedure as in application 01 and 02.
-
Once the application is up and running, we need to attach a PVC to it.
-
Create the backup.
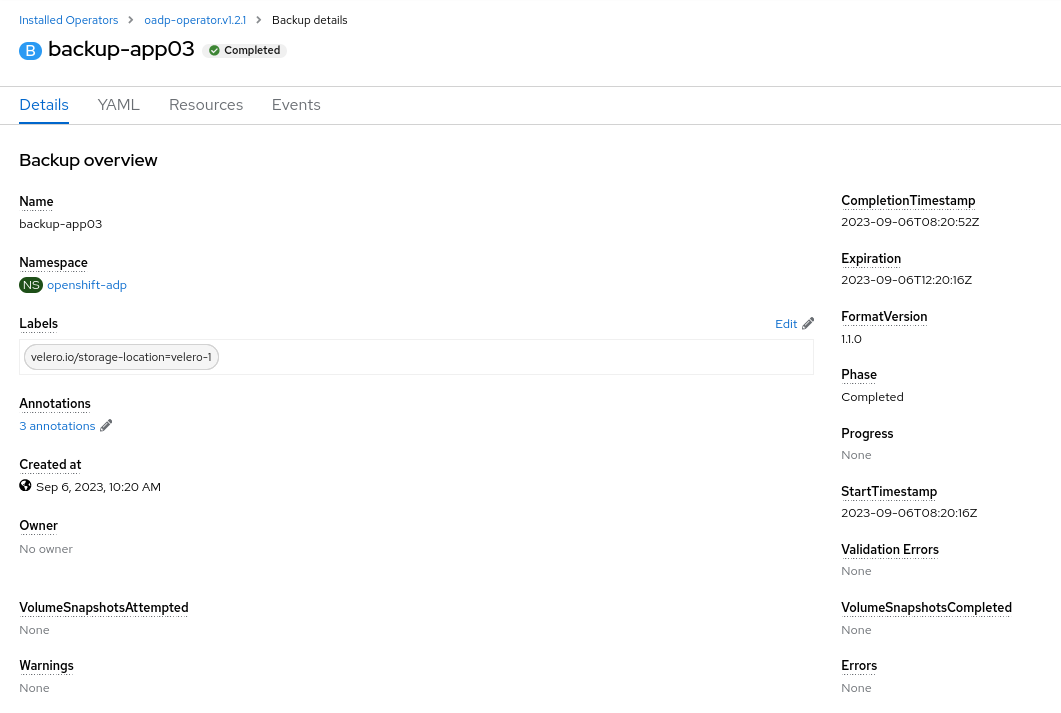
In this case, we need to set the parameter defaultVolumesToFsBackup to true. The yaml view of the resource will look like this:
apiVersion: velero.io/v1
kind: Backup
metadata:
  name: backup-app03
  namespace: openshift-adp
spec:
  includedNamespaces:
    - application-03
  defaultVolumesToFsBackup: true
In order to check that the backup has been performed successfully, it has to be masked as Completed.
Application 4
The third demo will be an app based on Apache with a PVC attached, and we will be using using Snapshots and Data Mover for the the volume backups.
-
Create a project called
application-04.
oc new-project application-04
-
Go to the Developer perspective in the OpenShift Console and follow the same procedure as in the previous demos.
-
Once the application is up and running, we need to attach a PVC to it.
-
Before creating this backup, we need to enable the Data Mover feature in the
DataProtectionApplicationresource. This is done by adding thevsmplugin and setting the Data Mover feature totrue:
kind: DataProtectionApplication
apiVersion: oadp.openshift.io/v1alpha1
metadata:
 name: velero-sample
 namespace: openshift-adp
spec:
  backupLocations:
    - velero:
        config:
          resourceGroup: <RESOURCE_GROUP>
          storageAccount: <STORAGE_ACCOUNT>
          storageAccountKeyEnvVar: AZURE_STORAGE_ACCOUNT_ACCESS_KEY
          subscriptionId: <SUBSCRIPTION_ID>
        credential:
          key: cloud
          name: cloud-credentials-azure
        default: true
        objectStorage:
          bucket: <BUCKET_NAME>
          prefix: velero
        provider: azure
  configuration:
    restic:
      enable: true
    velero:
      defaultPlugins:
        - openshift
        - azure
        - csi
        - vsm
  features:
    dataMover:
      credentialName: datamover-restic-secret
      enable: true
      maxConcurrentBackupVolumes: '3'
      maxConcurrentRestoreVolumes: '3'
pruneInterval: '1'-
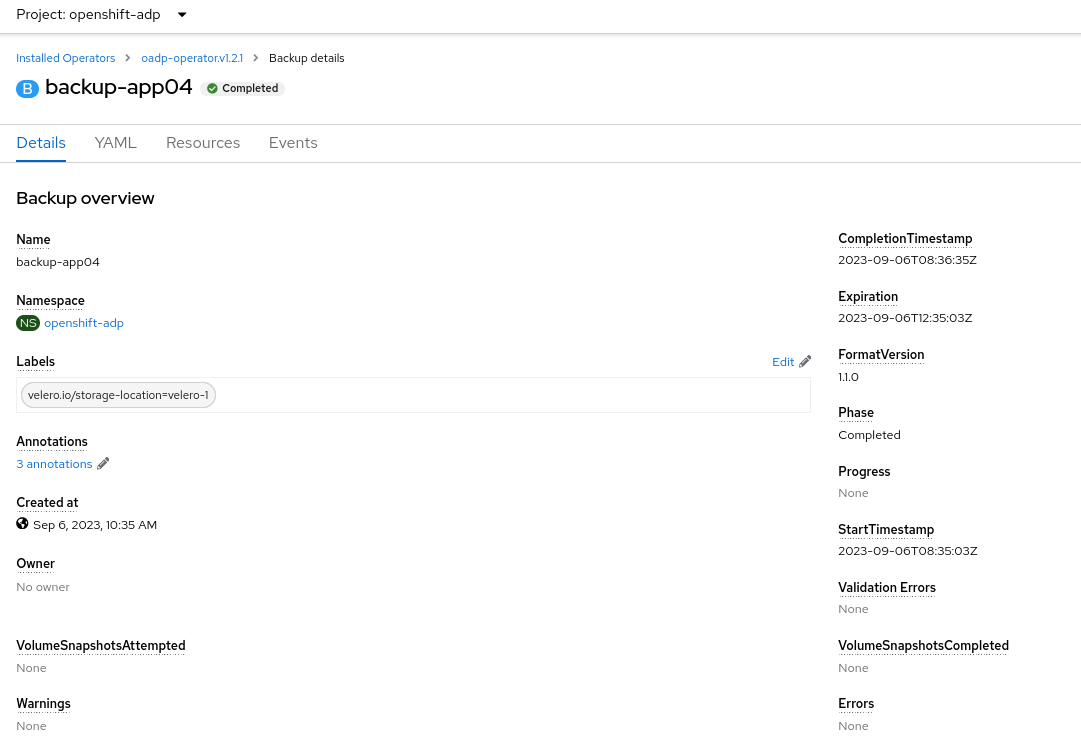
Create the backup, setting the
snapshotVolumesparameter totrue. Theyamlview of the resource will look like this:
apiVersion: velero.io/v1
kind: Backup
metadata:
  name: backup-app04
  namespace: openshift-adp
spec:
  includedNamespaces:
    - application-04
  snapshotVolumes: true
In order to check that the backup has been performed successfully, it has to be masked as Completed.