Install and configure OADP Operator
This section includes the necessary steps to start working on the webinar. This guide will begin with the installation and configuration of the OADP Operator.
In order to perform backups and restores in OpenShift using this approach, you also need to have configured an object storage as backup location. The object storage can be on of the following:
-
Amazon Web Services
-
Microsoft Azure
-
Google Cloud Platform
-
Multi Cloud Object Gateway
-
AWS S3 compatible object storage, such as Noobaa or Minio.
To perform the PVs backups with snapshots, we will need:
-
Amazon Web Services
-
Microsoft Azure
-
Google Cloud Platform
-
CSI snapshot-enabled cloud provider, such as OpenShift Container Storage (OCS) or OpenShift Data Foundation (ODF)
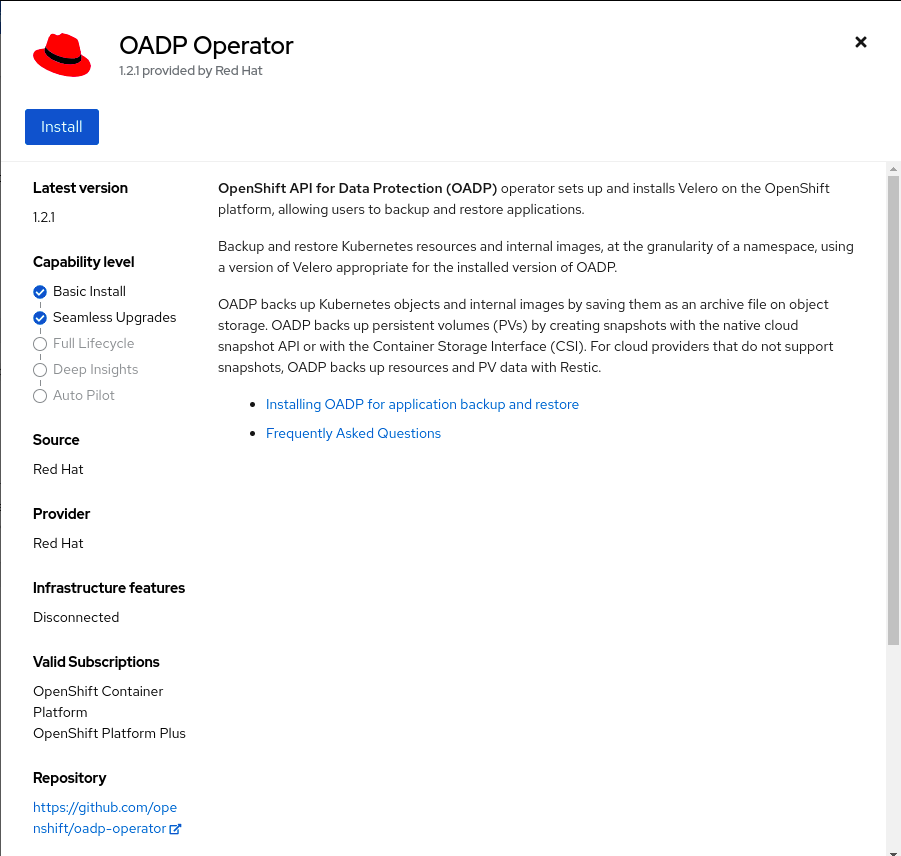
Install operator
The OADP Operator can be installed through the Operator Hub as shown below:
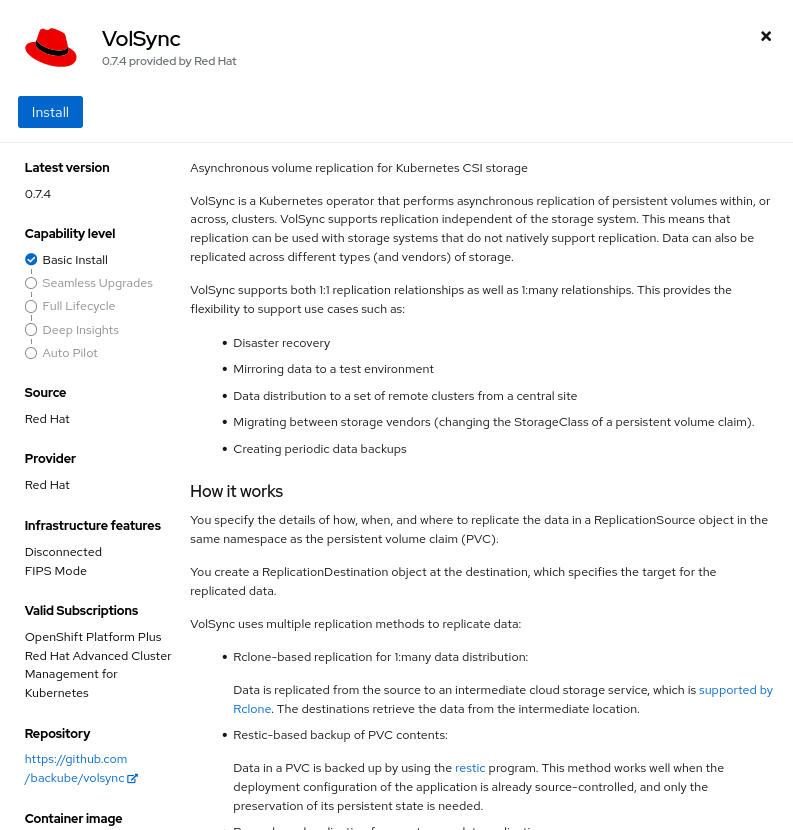
We will also need the VolSync Operator in order to perform the Data Mover feature. This operator can also be installed via the Operator Hub:
Configure Operator
Once the Operators are installed, and we need to have the object storage configured and a secret in OpenShift that contains the credentials needed to access the storage locations. Finally, we need to create an instance of the Data Protection Application Object.
Secret
We have to create a default secret with the storage location credentials that will allow the DataProtectionApplication to access the storage location.
Create a file credentials-velero with the credentials of your storage location. In Azure Blob, it will look like:
AZURE_SUBSCRIPTION_ID=<subscription_id>
AZURE_TENANT_ID=<tenant_id>
AZURE_CLIENT_ID=<client_id>
AZURE_CLIENT_SECRET=<client_password>
AZURE_RESOURCE_GROUP=<resource_group>
AZURE_STORAGE_ACCOUNT_ACCESS_KEY=<storage_account_access_key>
AZURE_CLOUD_NAME=<azure_cloud_name>
And then, create the Secret with the default name:
oc create secret generic cloud-credentials-azure -n openshift-adp --from-file cloud=credentials-velero
DataProtectionApplication
Create a new DataProtectionApplication resource. It can be done via web console, in the OADP Operator:

The resource should look as follows:
-
velero.config: Complete these fields with the storage location configuration. -
credential.name: Secret name created in the previous section. -
velero.objectStorage: This is the bucket that will be used to store the backups. -
features.datamover: This section configures the Data Mover feature and will be applied later on the workshop.
kind: DataProtectionApplication
apiVersion: oadp.openshift.io/v1alpha1
metadata:
 name: velero-sample
 namespace: openshift-adp
spec:
  backupLocations:
    - velero:
        config:
          resourceGroup: <RESOURCE_GROUP>
          storageAccount: <STORAGE_ACCOUNT>
          storageAccountKeyEnvVar: AZURE_STORAGE_ACCOUNT_ACCESS_KEY
          subscriptionId: <SUBSCRIPTION_ID>
        credential:
          key: cloud
          name: cloud-credentials-azure
        default: true
        objectStorage:
          bucket: <BUCKET_NAME>
          prefix: velero
        provider: azure
  configuration:
    restic:
      enable: true
    velero:
      defaultPlugins:
        - openshift
        - azure
        - csi
  features:
    dataMover:
      credentialName: datamover-restic-secret
      enable: false
      maxConcurrentBackupVolumes: '3'
      maxConcurrentRestoreVolumes: '3'
      pruneInterval: '1'
Data Mover Prerequisites
-
Verify that both resources
StorageClassandVolumeSnapshotClasssupport CSI. -
Check that there is just one default
VolumeSnapshotClass. -
The default
VolumeSnapshotClassmust have thedeletionPolicyset toRetainand the labelvelero.io/csi-volumesnapshot-classset totrue. This resource should look as follows:
apiVersion: snapshot.storage.k8s.io/v1
deletionPolicy: Retain
driver: openshift-storage.cephfs.csi.ceph.com
kind: VolumeSnapshotClass
metadata:
  annotations:
    snapshot.storage.kubernetes.io/is-default-class: "true"
  labels:
    velero.io/csi-volumesnapshot-class: "true"
  name: ocs-storagecluster-cephfsplugin-snapclass
parameters:
  clusterID: openshift-storage
  csi.storage.k8s.io/snapshotter-secret-name: rook-csi-cephfs-provisioner
csi.storage.k8s.io/snapshotter-secret-namespace: openshift-storage-
The namespace where the OADP Operator is installed has to have the annotation:
oc annotate --overwrite namespace/openshift-adp volsync.backube/privileged-movers='true'
-
Configure a Restic secret.
apiVersion: v1
kind: Secret
metadata:
  name: restic-secret
  namespace: openshift-adp
type: Opaque
stringData:
# The repository encryption key
  RESTIC_PASSWORD: restic-password
oc apply -f restic-secret.yaml
Finally, to check that everything has been deployed correctly:
oc get all -n openshift-adp
The output should be similar to this:
NAME                                                   READY   STATUS    RESTARTS   AGE
pod/node-agent-bh22m                                   1/1     Running   0          31s
pod/node-agent-p2sjt                                   1/1     Running   0          31s
pod/node-agent-wtmm5                                   1/1     Running   0          31s
pod/openshift-adp-controller-manager-f7b985677-n89ts   1/1     Running   0          6d5h
pod/velero-7bb9f5f5bc-b5dkr                            1/1     Running   0          30s

NAME                                                       TYPE        CLUSTER-IP       EXTERNAL-IP   PORT(S)    AGE
service/openshift-adp-controller-manager-metrics-service   ClusterIP   172.30.34.236    <none>        8443/TCP   6d5h
service/openshift-adp-velero-metrics-svc                   ClusterIP   172.30.248.193   <none>        8085/TCP   32s

NAME                        DESIRED   CURRENT   READY   UP-TO-DATE   AVAILABLE   NODE SELECTOR   AGE
daemonset.apps/node-agent   3         3         3       3            3           <none>          32s

NAME                                               READY   UP-TO-DATE   AVAILABLE   AGE
deployment.apps/openshift-adp-controller-manager   1/1     1            1           6d5h
deployment.apps/velero                             1/1     1            1           32s

NAME                                                         DESIRED   CURRENT   READY   AGE
replicaset.apps/openshift-adp-controller-manager-f7b985677   1         1         1       6d5h
replicaset.apps/velero-7bb9f5f5bc                            1         1         1       32s
And the DataProtectionApplication and BackupStorageLocation resources should be marked as Available.
Now, we have everything configured so we can start to create our backups.